[gtranslate]
» Installation Guide of Koason Android Screen Display Upgrade Apple CarPlay For Mercedes Benz GLE GLS
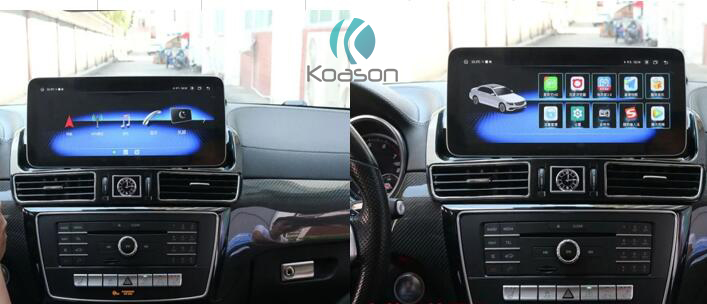
Anroid display for Mercedes Benz GLE GLS (NTG5.0/5.1):
For Mercedes Benz GLE(2015-2019), Mercedes Benz GLS (2016-2019).
12.3inch screen is compatible for both LHD (left hand driving) and RHD(right hand driving) cars.
NTG(5.0/5.1)

The installation process is similar to our other screens, that is plug and play,
no need to cut the wires, no coding, or other operations.
Let’s get started!
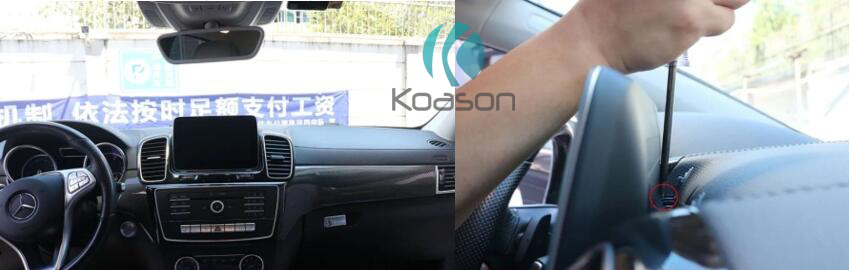
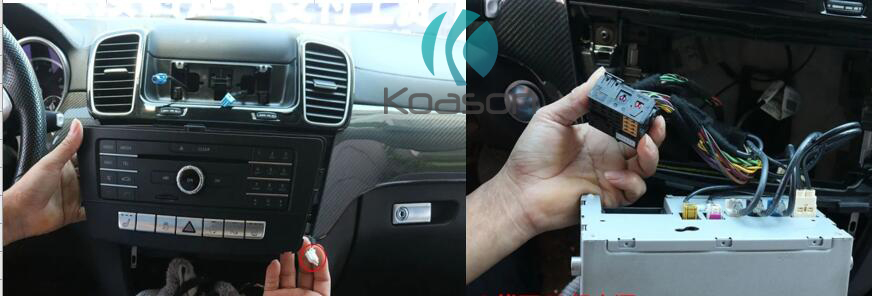
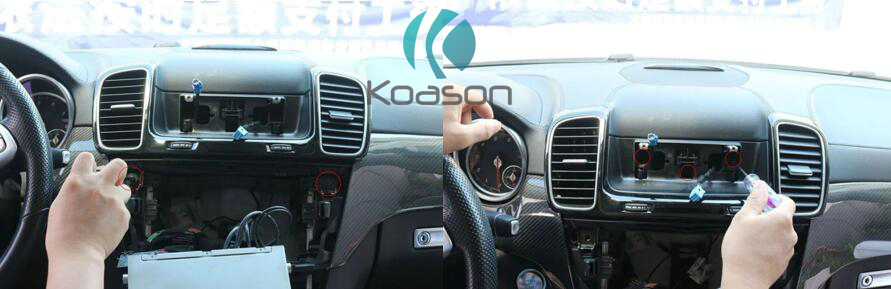
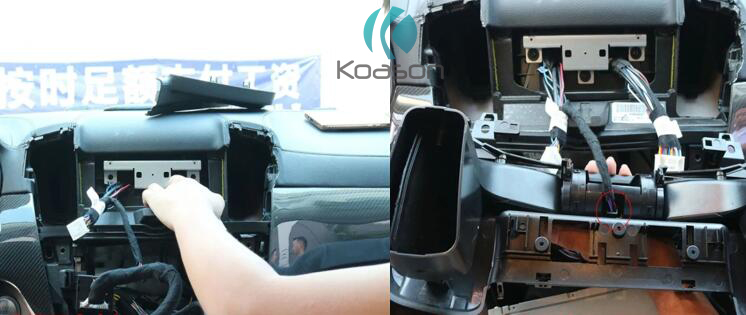
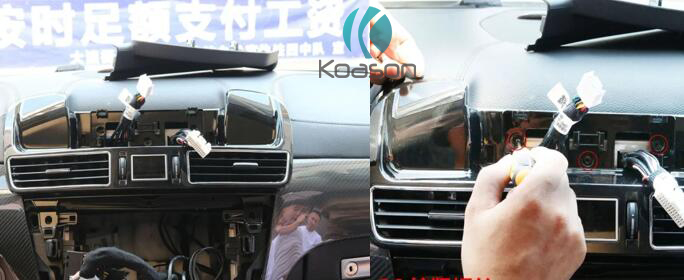
1. Original radio 2.Remove screws from the clip 3.Remove original screen and unplug plugs 4.Pear off the decorative strip
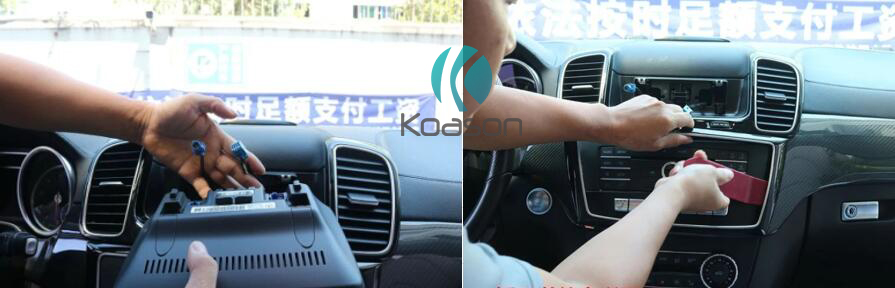
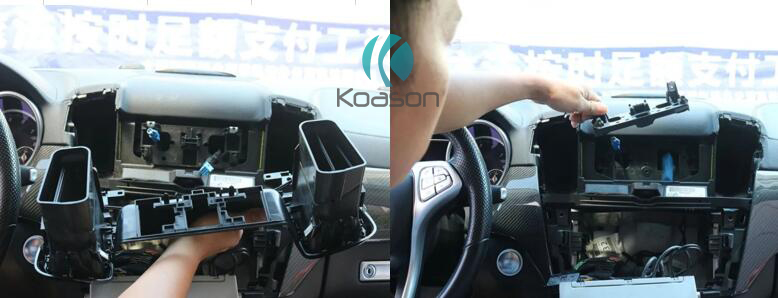
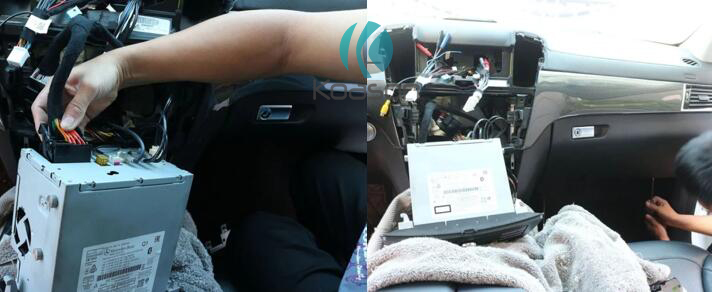
5. Pear off AC panel 6. Remove screws and take off 7.Unplug the plugm take CD out from car 8.Unplug power harness from back of CD
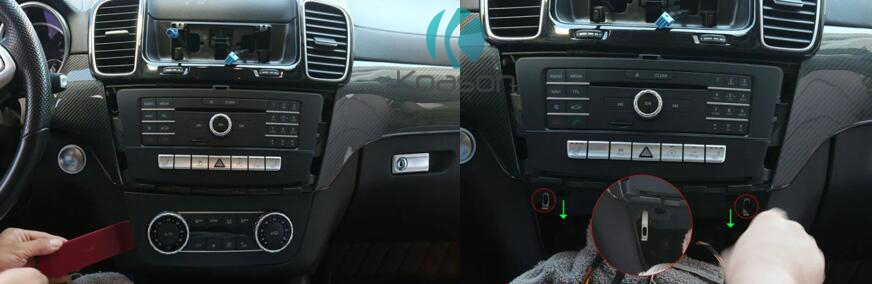
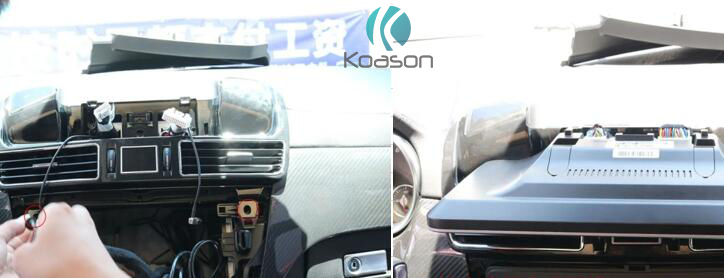
9. Remove fix screws 10. Remove fix screws 11. Take off original base 12. Take of original stand
13. Connect cables 14. Plug USB audio cable to car USB port in glove box 15. Connect LVDS cable 16. Connect android power harness to original
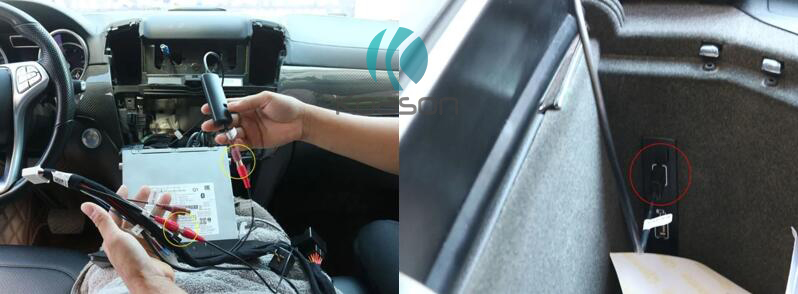
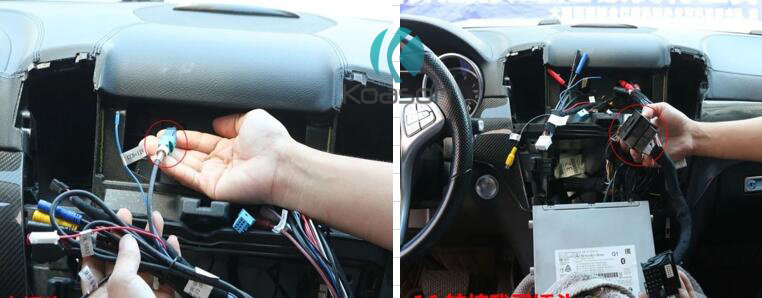
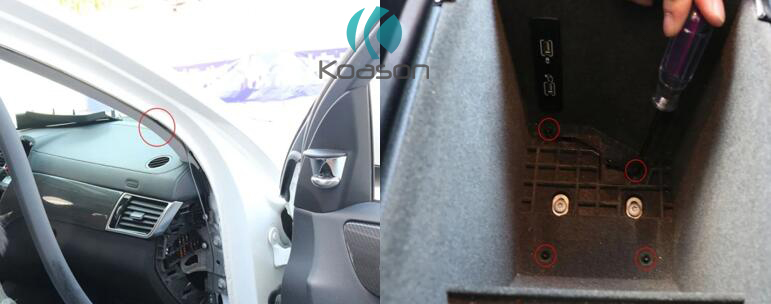
17. Plug android power harness to CD 18. Open copilot, install GPS antenna and 4G antenna 19. Open the panel of copilot 20. Position of 4G antenna.
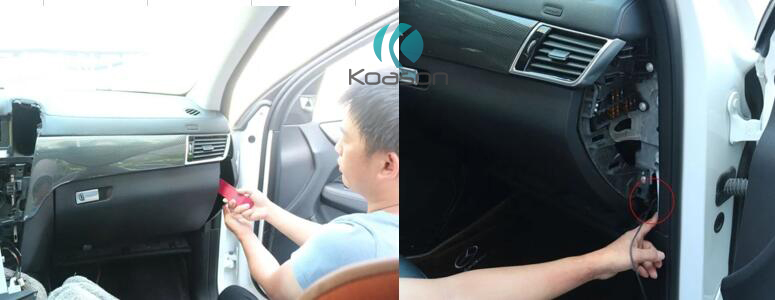
21. Position of GPS antenna 22. Remove fix screws in glove box 23. Install android metal stand 24. Connect plug of clock to base
25. Install base in car 26. Tighten screws of stand 27. Tighten screws of base 28. Plug power harness to back of screen
29. Installation Finished